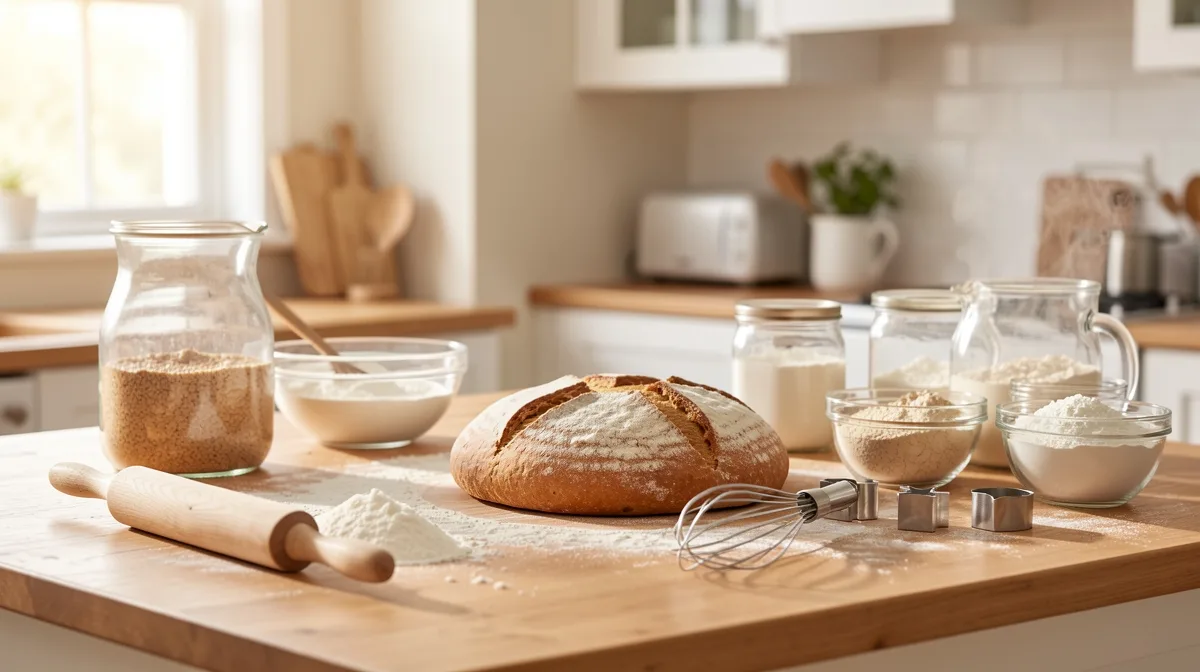
Planning Multi-Pan Bakes: Loaf, Muffin, and Sheet Pan Conversion Workflow
By KKRECIPE | Published on March 6, 2026

One batter is often split into multiple formats in real baking sessions: loaf pans for slicing, muffin trays for portions, and sheet pans for speed. This guide shows how to run mixed-pan sessions without losing consistency.
Define Yield by Format Before Mixing
Write how many loaf units, muffin portions, and sheet slices you need before calculating ingredients.
Clear yield planning prevents last-minute reallocation that can distort fill depth and timing.
Field Note: Yield uncertainty often creates avoidable variance in mixed-pan sessions.
Split Batter by Weight, Not Guessing
Visual pouring produces uneven fills. Weight-based distribution keeps batch comparison valid between formats.
Label each pan with target fill before portioning to keep workflow fast under time pressure.
Field Note: Pre-labeled fill targets reduce correction time during prep.
Set Format-Specific Timers
Muffins, loaves, and sheet pans should not share one bake timer. Depth and airflow vary by format.
Use staggered alarms and format-specific doneness checks to avoid overbaking smaller units.
Field Note: One timer for all pans is a frequent cause of uneven session results.
Control Rack and Rotation Plan
Multi-pan sessions increase hotspot risk. Decide rack order and rotation timing before oven loading.
Avoid random door openings; each opening changes chamber recovery and can shift timing windows.
Field Note: Prewritten rotation plans produce cleaner comparisons between format outcomes.
Implementation Questions Bakers Ask Most
Can one recipe be split across three pan types safely?
Yes, with measured distribution, format-specific timing, and structured notes.
Should all formats bake at one temperature?
Start with one baseline, then refine after observing format behavior in controlled runs.
What is the fastest session improvement?
Weight-based split plus staggered alarms usually delivers immediate gains.
Use this workflow with pan conversion basics and oven calibration guidance.
Practical Case: Vanilla Batter Across Loaf and Muffin Trays
Initial mixed-format run used visual split and one timer, causing dry muffins and under-set loaf centers. The next run used weighted split and staggered checks, resulting in stable texture across both formats.
Coordinating Pull Times in Multi-Pan Sessions
When one batter is split across loaf pans, muffin trays, and sheet formats, the biggest risk is treating them as if they finish together. Different depth and geometry change heat travel, so each pan needs its own pull-time plan. A practical method is to define separate first-check windows before baking starts, then log center response and surface color at each check.
In testing, the most consistent sessions used staggered checkpoints rather than one global timer. Muffins often reached stable centers first, sheet portions followed, and loaf formats needed longer finishing time. When all pans were removed at once, at least one format showed avoidable quality loss. Staggering pull decisions kept structure and moisture more consistent across all outputs.
Assign each pan a simple code in your notes and track two signals at minimum: center resistance and edge color. This creates a repeatable language for future sessions and improves communication when recipes are revised later for different batch sizes.
Field Note: In mixed-pan bakes, preplanned check windows are more reliable than reacting to visual cues from only the fastest pan.
Production Planning for Home and Small-Batch Workflows
Multi-pan planning also includes cooling and holding strategy. If one format must rest longer before slicing, schedule it first even if its bake time is longer. If another format dries quickly during holding, bake it later so service texture stays closer to target. Sequencing is a quality decision, not just a time-management preference.
A useful planning sheet has four columns: pan format, expected bake window, expected cooling window, and final use time. Filling this before preheat reduces rushed decisions once the oven is busy. It also reveals whether your chosen pan mix is realistic for one oven load or should be split into two smaller sessions.
After service, compare planned versus actual times and mark where delays occurred. Those notes improve the next session and help convert one-off success into repeatable workflow guidance. Over time, this is what turns mixed-pan baking from guesswork into dependable production practice.
Quick Checklist
- Define yield per format before mixing.
- Portion by measured weight.
- Set separate timing windows.
- Pre-plan rack and rotation steps.
Reference Sources
Closing note: mixed-pan baking becomes predictable when distribution, timing, and rack planning are handled as one integrated process.